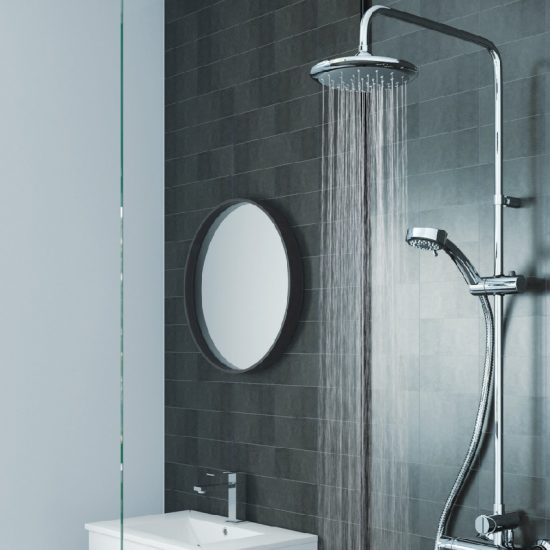
How to Tile a Bathroom
A step by step guide on how to Tile a Bathroom including necessary tools, estimated costs, time frames, best techniques and what not to do.
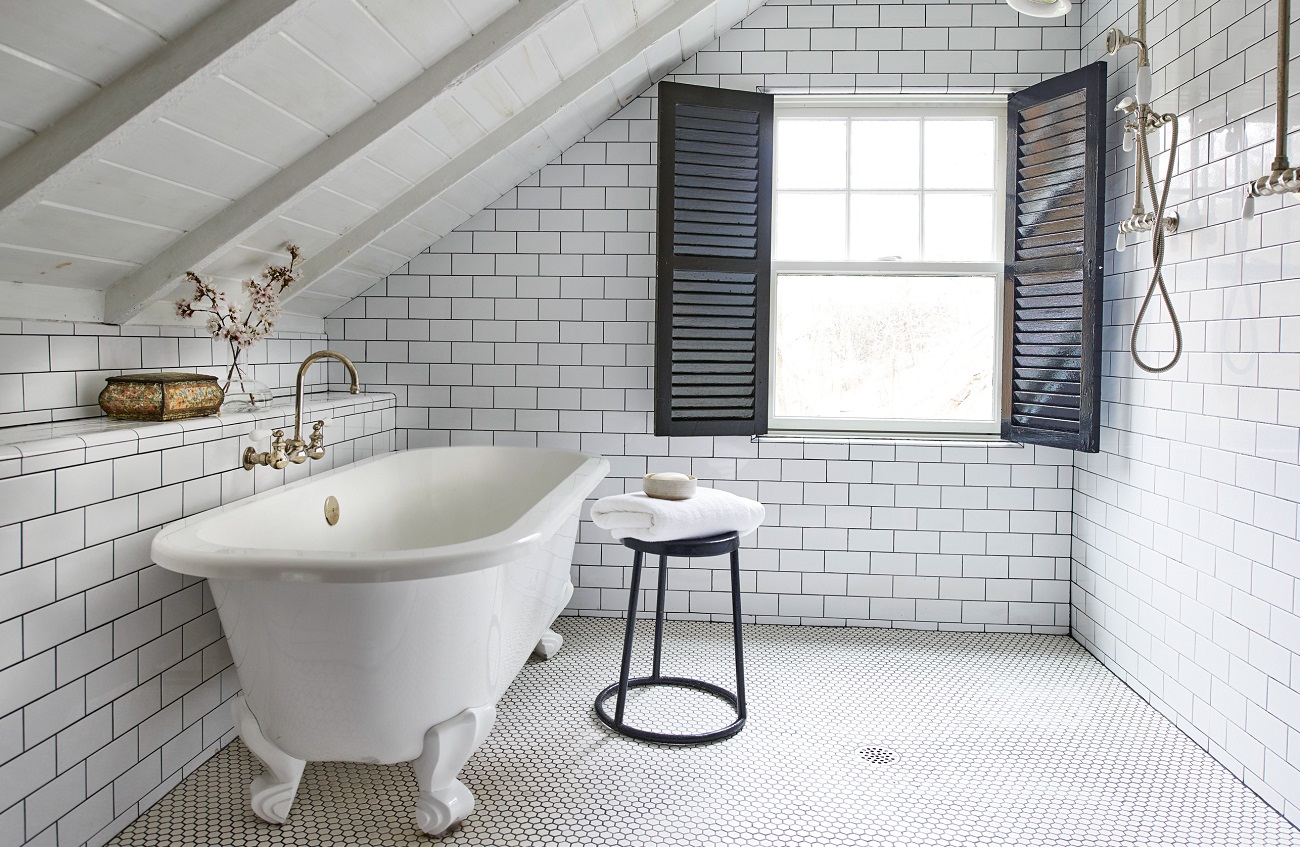
Tiling a bathroom is a project which will take 1-3-days to complete if you plan on doing the job yourself. New tiles will help give your bathroom a new look and feel, and with many different tiles to choose from, you can personalise the space to look exactly as you want it to. Tiling will help increase the home's resale value, and create a more uniform appearance in the bathroom. If you are considering this DIY project yourself, these are a few things you should know, before you get started on trying to tile the bathroom yourself, rather than hiring a pro.
List of Required Tools
- Measuring tape
- Circular saw
- Jigsaw
- Tile saw
- Drill
- Grout float
- Notched trowel
- Sponge
Step by Step Guide
New bathroom tiles can really give the space an entirely new look and feel. If you plan on installing the new tiles yourself, as opposed to hiring a tradesman to do the work for you, this is a simple guide any homeowner can follow, which will allow them to finish the work in a few day's time.
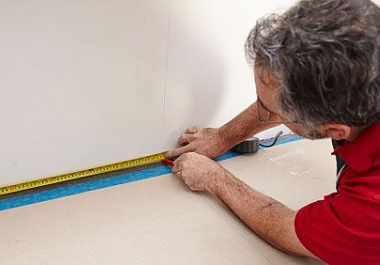
1. Measure the floor
Using the measuring tape you'll measure the area where you are installing the bathroom tiles. This will help you determine how many tiles to buy, grout, mortar, and other supplies you're going to need in order to complete the project.
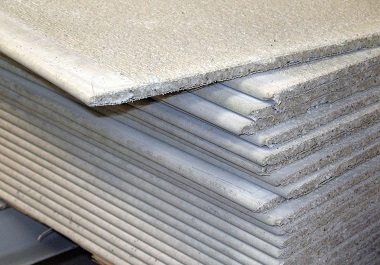
2. Underlayment prep and attachment
A cement board underlayment will help increase the durability and will level the ground you're working on when installing tiles. You will use your circular saw to cut panels out and your jigsaw to cut holes needed for the sink, toilet, and other fixtures you have in the bathroom.
Once prepared you'll attach the underlayment. You'll use your drill to attach it to the backboard. Space screws should be used to affix the cement base onto the ground.
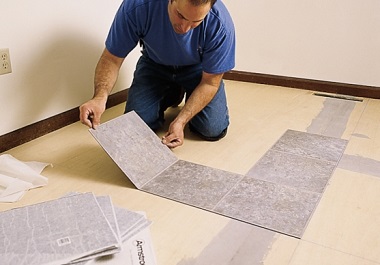
3. Tile layout
Depending on the look/detail you want in the bathroom, you will now determine the tile layout for installation. Once you determine the best layout, and find a way to use the most whole tiles possible, you can begin the process of installing the tiles.
4. Cut tiles and place cut tiles
If you determined (in the step above) that you have to cut tiles for installation, you should do that with your tile saw. These cut tiles are the ones you should install first, as the perimeter borders of the tile flooring in the bathroom.
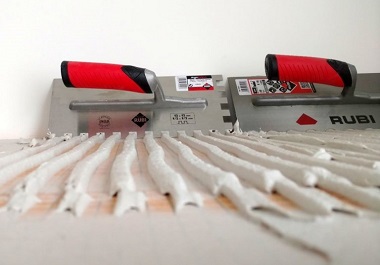
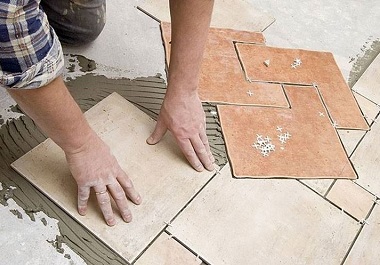
5. Apply mortar
Apply a thin layer of mortar in smaller sections using the notched trowel. You'll place the tiles a few at a time, lay down the new tiles over the mortar base you are applying. Once in place, allow the mortar to sit for a minimum of 24-hours before you continue the installation process.
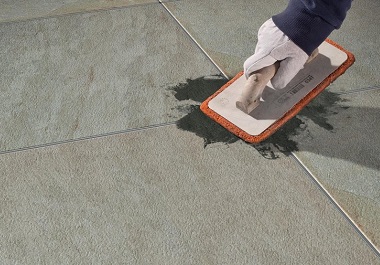
6. Grouting the tiles
After mortar dries you will remove the spacers from the ground. Use the ground to float/fill the area where the spacers were in between each tile. You can simply wipe away the excess grout with the wet sponge, so that you can create a smooth/level finish, between the tiles you have installed. You can walk on the grout about 24-hours after it is applied; but, should allow up to 1-week for it to completely settle.
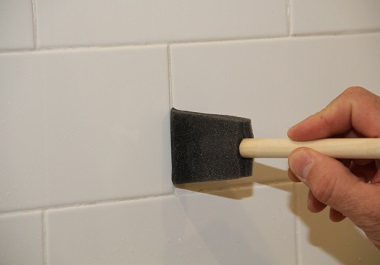
7. Grout sealer application
Once completely dried and settled you will apply the grout sealer. As the name implies, this is going to seal the grout into place and protect the grout from staining, discoloration, or other damage.
How to Tile a Bathroom Video
Tips & Techniques
When installing tile, you can choose different tile finishes, materials, and colours. If this is the choice you make, consider cutting smaller tiles for the perimeter base, of the colour you want around the edge, and using whole tiles of a different colour for the centre area. This is a nice way to add contour and also create a distinct look/finish in the bathroom when installing tiles.
It is important to give things time to settle. Many people will try to rush the process along, which is going to result in poor quality finishes, possible shifting of tiles, damaging the grout, and possibly damaging the tiles as well. So, if possible, give anywhere between 36-48 hours after you apply the grout, to step on the surfaces. This will ensure smooth finishes, and also ensure the grout has properly dried and settled.
When choosing materials, the higher the quality of the tiles and supplies used for the job, the greater the finish will be. Like any other DIY project you do, if you are willing to invest more, you are going to notice the work looks better, and it will also result in higher returns if you plan on selling your home soon after.
Am I best to hire a tradesman?
Installing bathroom tiles isn't difficult, but does require some degree of precision. Additionally, it will require a great deal of patience to do the job right. If you are considering this DIY project, it is one of the easier ones you can do in the home. It typically doesn't involve messy plumbing or other tasks that are involved in larger DIY projects. As long as you have the right tools in place, you can cut the tiles quickly, fit them easily, and you can do the manual labour in a shorter period of time.
On the flip side, for those who do not have the patience, or if you don't have the equipment (which is costly to buy and rent), then hiring a tradesman to install the bathroom tiles might be the best option for you. Just make sure you hire a team that guarantees their work, and structural integrity of the tiles once installed. It is best if you take the time to compare local tradesmen before you choose one to hire. By doing this, you can narrow down your options to those who are most qualified for the job, and you will obviously find the tradesmen who are going to offer you the most reasonable pricing when installing new tiles in your bathroom as well.