How to Skim a Wall
A step by step guide on how to Skim a Wall including necessary tools, estimated costs, time frames, best techniques and what not to do.
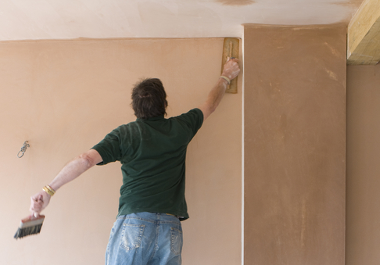
Skimming a rough wall is a simple way to smooth out rough areas/patches, create a smooth surface, and otherwise improve the aesthetic appearance of a room in the home, which doesn't look great because of the bumpy/wavy walls. When skimming the wall, you need to have the right tools in place. This is a job which most homeowners can typically do on their own. Whether you are preparing for painting, or simply want to create a uniform appearance in a room, this post will help guide you through the process of skimming a wall in your home.
List of Required Tools
- Drywall primer
- Roller
- Trowel
- Screwdriver
- Mud pan
- Sanding pole
- Squeegee
- Taping knife
Step by Step Guide
A simple guide to skimming the walls in a home will help you improve the overall appearance in a room. This guide is simple to follow, and will allow anyone, even those with limited experience, to get this job done in a short period of time.
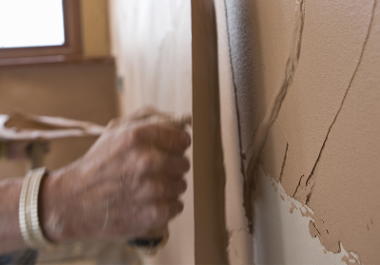
1. Priming the wall
Using a sealing fast-dry wall primer touch or spot-treat the areas which are damaged. Torn wall, damage, or other holes, should be primed before you begin the skimming process.
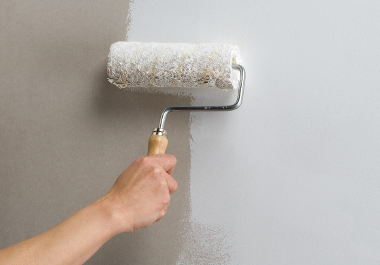
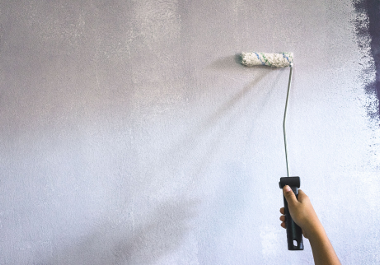
2. Rolling mud onto the wall
Using your paint roller you'll roll joint compound mud onto the wall which you are priming. Using a this all-purpose joint compound you'll create an adhesive base for your wall being skimmed. Mix the compound to the same consistency as mud; if there is cracking after applying the first coat, apply a second to ensure a smooth, even surface.
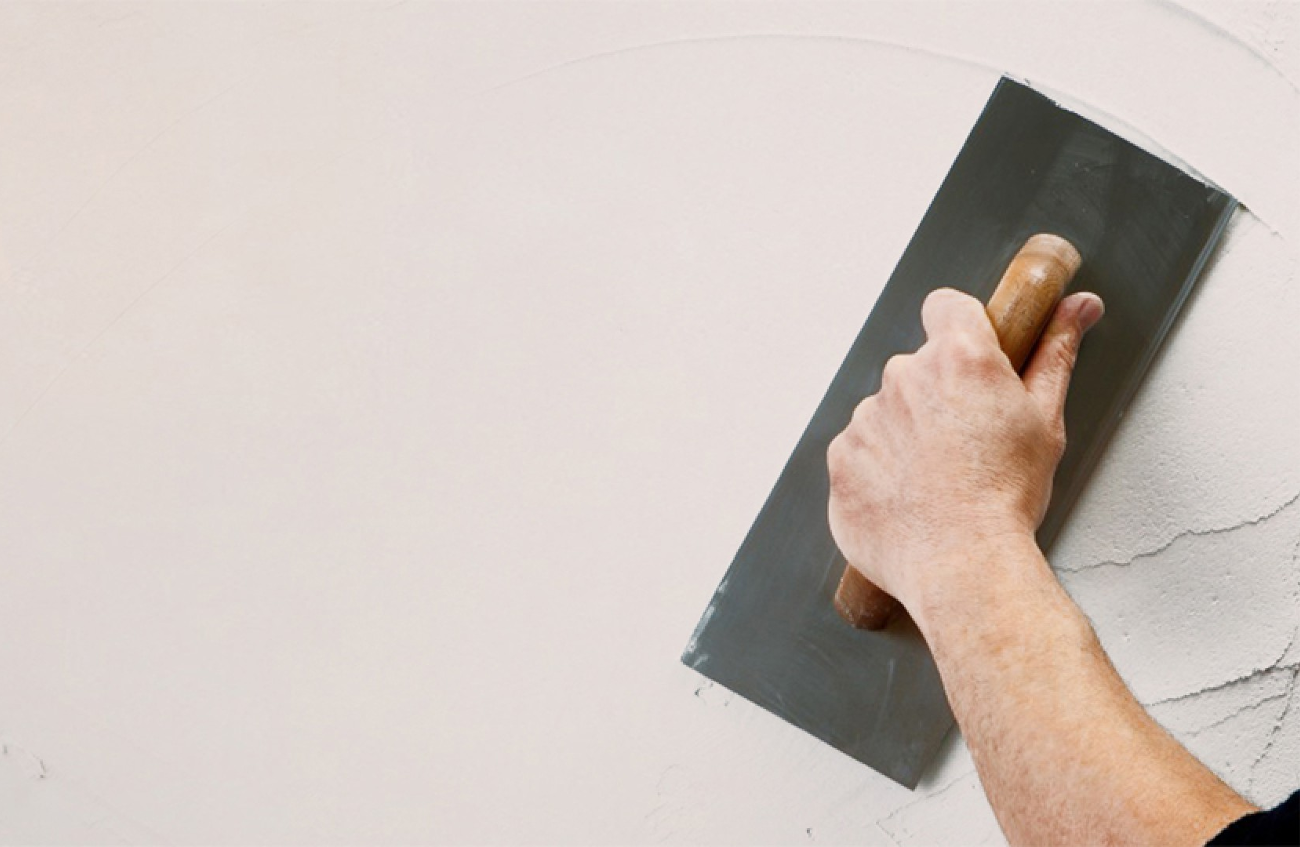
3. Trowel the first coat
After applying the first coat of mud, use your trowel to smooth out the base layer. With the squeegee knife you can create an even level base.

4. Apply additional layers
You will follow the same process above, once or twice more. Make sure you let the mud substance dry each time entirely, and use your trowel to create as smooth of a surface as possible before you move onto the next phase in the process.
5. Touching up edges
Touch up the edges as you go. It is also a good idea to change the direction when you apply the second coat; this ensures it fills any gaps which were missed when you applied the base coat. Do the same (opposite direction) if you apply a third coat of mud.
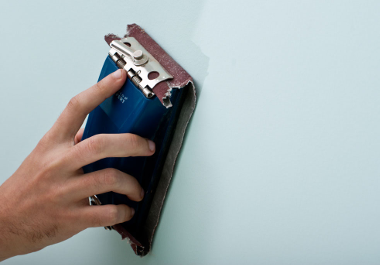
6. Sanding
It is possible you might need to sand down the wall after troweling to ensure a smoother finish. Doing this is not only going to help improve the appearance but is also going to create that even, smooth base, which you are trying to achieve when skimming walls in the home.
How to Skim a Wall Video
Tips & Techniques
To ensure the work goes as smoothly and hassle-free as possible, it is important you are using the very best quality materials and supplies. Where possible, you should choose the best brands of mud base (joint compound) and primer available. It might cost more, but this is going to guarantee the work is done properly, and that your walls are going to look great when they are finished.
You also want to take your time. It should not take more than 1-2 days at most, to skim a wall in the home. Especially when applying thinner layers of the mud, they don't take long to dry; so, allow them to fully dry before you trowel the area and apply another coat or layer.
Also make sure you are going in alternate direction with each coat of mud you apply. This will help fill the gaps, ensure the smoothest texture/finish, and will also result in the best detail work possible, when you are skimming the walls in the home.
Am I best to hire a tradesman?
Skimming a wall is a process which is extremely simple to complete. You don't need to purchase expensive equipment, nor do you need to have a great deal of experience with painting, skimming, or construction work, in order to complete this DIY project around the home. As long as you are patient, allow the surface to fully dry, and take your time to ensure the process is done properly, you shouldn't have a difficult time skimming a wall.
Bear in mind that this is for smaller scale jobs. Obviously, in larger homes, or homes where the walls are very tall and you may require a scaffold or other equipment, this might not be the easiest DIY project for you to try at home. It is a bit more complex, it is going to be a little harder to reach higher areas, and it might require more equipment and expertise to work on those areas, so these jobs might be best to hire a professional plasterer to complete the project.
After the skimming work has been completed, you may also be interested in having some additional painting and decorating work, where you may want to consider hiring a professional painter and decorator.
For the most part, skimming a wall is a simple project most homeowners can complete. If you have the patience to do the job, it is quick and easy, and will result in fine, smooth, even appearance, after you complete the process in your home.