How to Install a Gas Cooker
A step by step guide on how to Install a Gas Cooker including necessary tools, estimated costs, time frames, best techniques and what not to do.
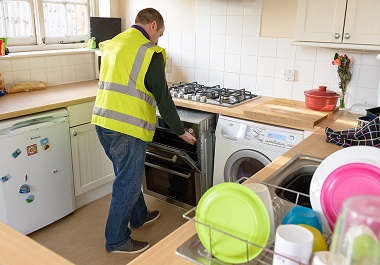
Fitting a gas cooker seems simple in theory, right? Remove the old one, connect a couple gas lines, and check to make sure there are no leaks. In theory, yes, this is the gist of it. With this being said, legally you must have a registered gas safe engineer check the gas stove, wiring, and gas lines, to ensure there are no leaks. So, in theory, you can install the new cooker yourself, but ultimately you'll have to call a licensed professional to check the cooker is properly installed, and operable, if you want to remain legally compliant in using your new cooker.
List of Required Tools
- Pipe fittings
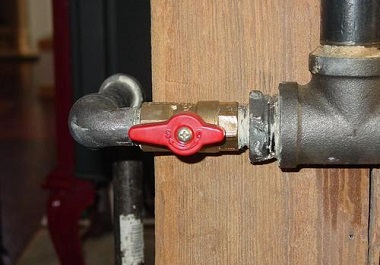
- Gas cock
- Flexible gas line
- Leak detector
- End connector fittings
Step by Step Guide
Remember, you'll ultimately have to contact a gas safe engineer to check for gas leaks before you can operate the gas cooker. But, installation isn't too difficult. If you want to attempt installing it yourself, this is a simple guide you can use for reference.
1. Disconnect and remove the old
Shut off the gas valve in the home, and unplug all lines and the gas cooker. Make sure you properly disconnect all lines safely before you begin the installation process or reconnecting new wiring.

2. Wrap pipe line threads
Once you've removed the old stove you will need to use teflon tape to wrap the pipe joint. Wrap the tape in the same direction as the fitting screws (clockwise). This should help prevent potential gas leaks from occurring once the cooker is unplugged.
3. Attach the connector
Screw the connector onto the gas line by first removing the connector fitting and wrap the unbeveled end with teflon tape. You will screw this side into the gas line. It is important to use the removable end fittings to attach to prevent gas leaks once the gas cooker is reconnected.
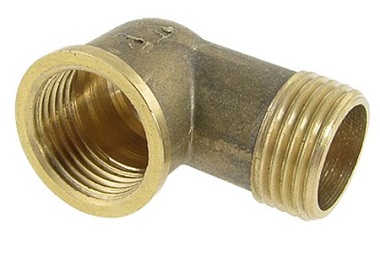
4. Connect the street elbow
You will now connect a street elbow into the cooker gas port, and the connector's other end into the street elbow. You shouldn't overtighten when connecting. The additional stress can cause gas leaks. At this point you'll tighten the nuts onto the end connector fittings.
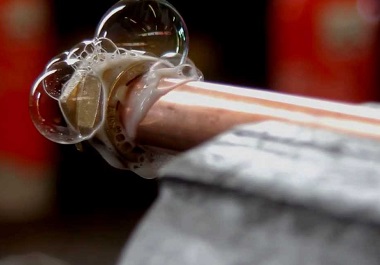
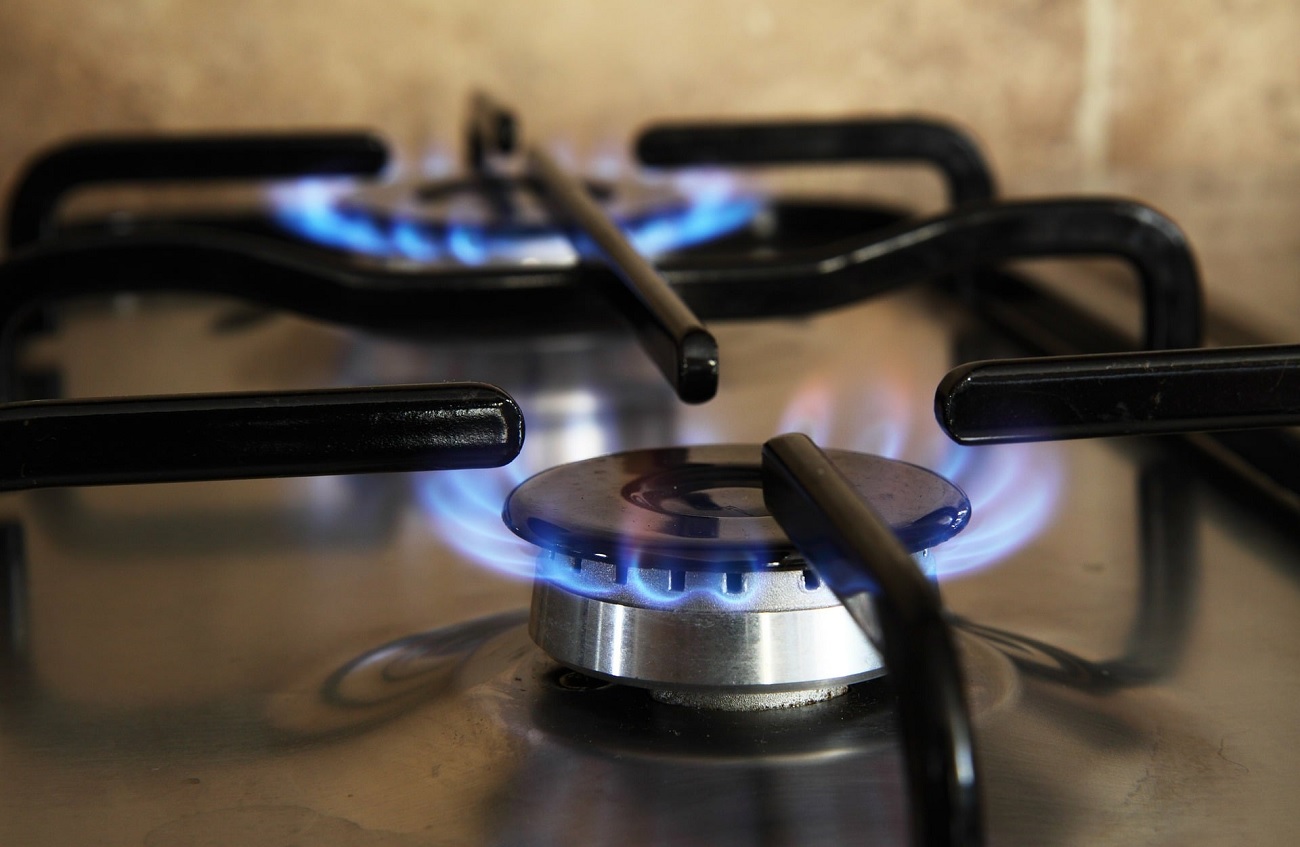
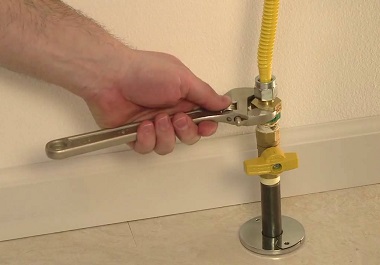
5. Check for leaks
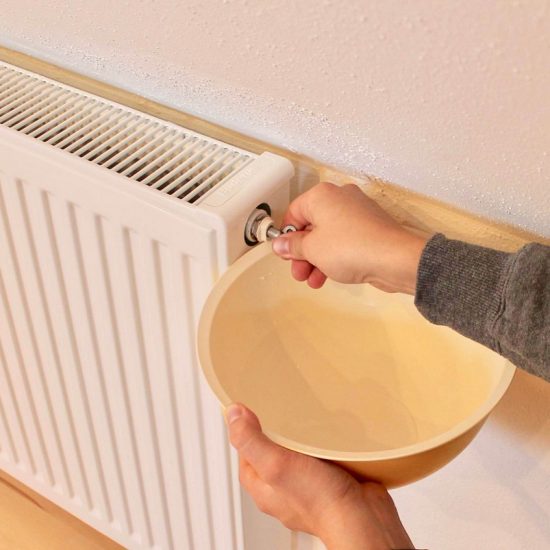
Now you want to check for leaks. You will turn the gas cock to a vertical position and light the range burners. Allow about 1-2 minutes to let the air out of the gas lines and spray the joints with leak detector spray. If there are bubbles around the joint this is an indication of a leak.
6. Reinstall the gas cooker
You should place the gas cooker in its original nook if no leaks are found. Although you might not have found any leaks with the leak detector, you are legally required to have a corgi run a leak test. So, to ensure full compliance, at this point you should call a professional and have them visit your home, check the settings, fittings, and connectors, and check for potential leaks, if you've chosen to install the cooker yourself.
How to Install a Gas Cooker Video
Tips & Techniques
This is not the type of job you want to do yourself. So, when the time comes for you to hire a heating engineer to install your new gas cooker, there are a few things you should consider. First off, choose those who are licensed and experienced in the craft. Although the installation itself shouldn't take more than a few minutes for a trained and licensed professional to do, you want to know it is done properly. So, if you are paying for the work to be done, you might as well pay the most competent professional to fit the new gas cooker.
It is also important to ensure there are no leaks detected. The tradesman will check the gas lines, inspect the stove, and inspect all components to ensure safety before connection and before allowing you to use your new gas cooker. When you hire the best professional for the job, you can be rest assured this work is done properly, if leaks are detected that they are taken care of and that the work is going to be done efficiently, and satisfactorily, resulting in the legal installation of your new gas cooker. And, this will allow you to safely use the cooker in your home, once the installation is completed.
Am I best to hire a tradesman?
As a homeowner, if it seems too simple or good to be true, it just might be in this situation. You are best hiring a tradesman to do the installation as well as the testing for you, if at all possible. You can technically install the new gas cooker yourself. But, if you are going to have someone come out and inspect the gas lines regardless, wouldn't you rather know the cooker was properly installed, gas lines were properly run, and the cooker is safe to operate? This would be the most sound decision to make, if you have just bought a new gas cooker, and are ready to install it.
Although you can technically install it yourself, there are legal requirements for homeowners to have licensed gas safe engineers visit the home after installation, and prior to use, to ensure the new gas cooker is operable and safe for use. If you are on the fence of attempting a DIY Project and are considering whether to hire a licensed professional for this job, you are better served by choosing to hire a professional. It will take them only a matter of minutes to install, dispose of the old cooker, and properly connect all gas lines so you can safely use the new cooker in your home.