How to Wallpaper a Wall
A step by step guide on how to Wallpaper a Wall including necessary tools, estimated costs, time frames, best techniques and what not to do.
Applying wallpaper to a wall may seem self-explanatory, which, for the most part, it is. With this being said, that doesn't mean you can't make errors, especially if you aren't careful with measuring, placement, and cutting, if you are going to cut the wallpaper down to size. So, prior to getting started and simply sticking wallpaper onto the walls in your home, take a step back. This post will provide a detailed guide to help you go through the process quickly, easily, and without making errors in judgment, to ensure your new wallpapered surfaces look their best.
List of Required Tools
- Paint brush and roller
- Paint tray
- Sponge
- Sandpaper
- Straight edger
- Level and pencil
- Primer
- Drywall compound
- Putty and utility knives
- Hanging kit
Step by Step Guide
Hanging wallpaper isn't as simple as applying a few films of wallpaper onto a surface. If you are ready to apply new wallpaper, you can follow this simple guide which will help you through the process, and ensure the work is done quickly and results look their best once you're finished.
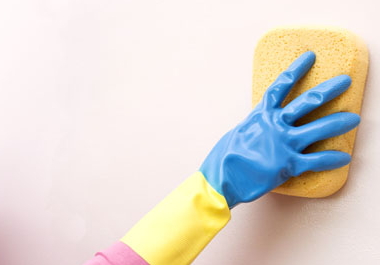
1. Wipe walls and fill in uneven areas
Using your sponge wipe down the walls entirely. Create a smooth, clean canvas, where you will apply the wallpaper. Using the drywall compound, fill in any edges or uneven areas. You can use your putty knife at this point to fill the areas which need compound; allow up to 24-hours for the putty to dry.
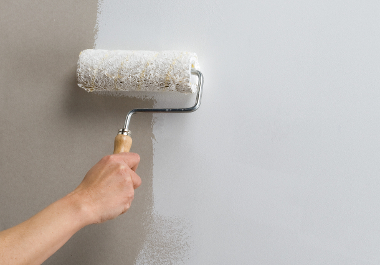
2. Dusting and priming
At this point, you will use your sponge to wipe off the dust/debris from the settled/dried on putty. Again, the wall should be as smooth as possible before you apply the wallpaper onto it. Using your brush and roller you will apply the primer base. This will help create a greater adhesive base for the wallpaper you will eventually apply onto the walls.
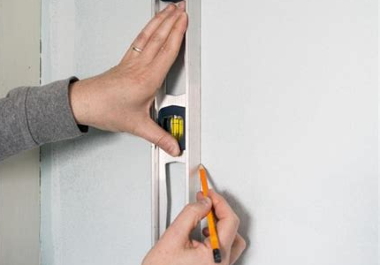
3. Let the primer dry and draw your guidelines
Allow up to two hours for the primer to dry after you roll it onto the walls. Draw the guidelines onto the wall where you will apply the wallpaper. A straight edge should be used so you can apply the finishes/detail on the wall, where you are going to apply the wallpaper once you are ready to do so.
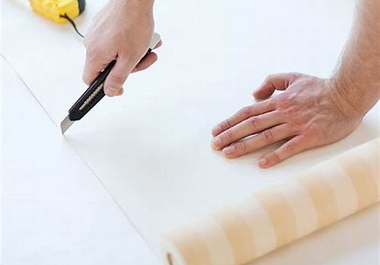
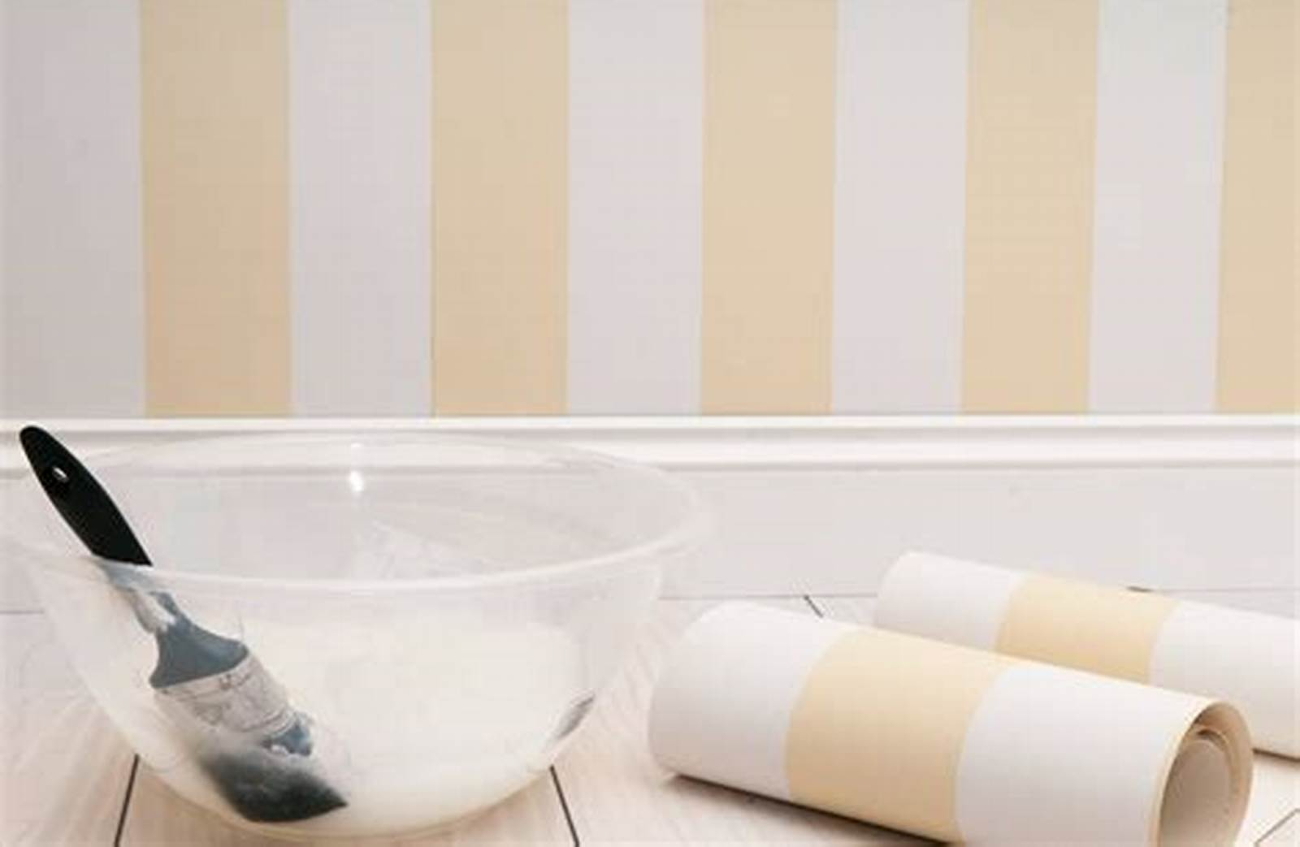
4. Cut the paper
Measure and cut the wallpaper; make sure you are exact in this process before applying it to the wall. Spread the paper onto a flat surface and apply the adhesive onto it. Make sure you spread the adhesive smoothly, and create a level/thin layer before applying it to the wall.
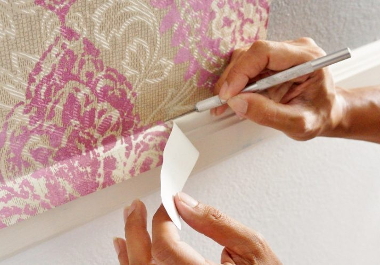
5. Trim the excess
If there is excess wallpaper around the edges or corners, use your utility knife to trim it. This will create the smooth, detailed look and finishes throughout the room, without having to see those imperfections or foldovers on the wall. It will also prevent overlapping or a rugged texture/appearance, once the work is completed.
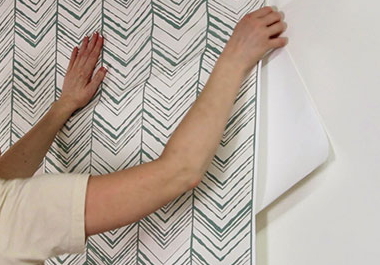
6. Repeat the process
Repeat the hanging process on as many walls as you are applying the wallpaper onto. Make sure you don't overlap the wallpaper as this will create an uneven or messy appearance. Precision is key when you are placing the wallpaper cuts onto the surface you are installing it onto.
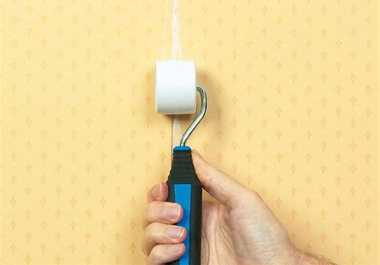
7. Roll it on
Use a seam roller once all the wallpaper has been applied to the wall. This will help to seal the seams and edges of the wallpaper sheets you cut, so that they come together smoothly, and it gives the appearance of it being one sheet, rather than several smaller sheets you put together when applying the wallpaper.
How to Wallpaper a Wall Video
Tips & Techniques
Don't rush the process, especially sanding and evening the wall's surface. Many people won't allow a full 24-hours for the putty to dry, or will try to rush through this phase. In doing this, the end result is going to look messy, and you are going to see the divots and deviations in the wall, where you didn't apply a putty base if you skipped the step. So, rather than trying to rush through, or skip a couple of steps, you should take the necessary time to do the small detail work in order for the end result to look its best once you are finished installing the wallpaper.
It is also important that you use a quality adhesive. You don't want the paper to crack, or for it to curl off the walls at any time. If the adhesive is not properly applied, or if you aren't using a quality adhesive base, this is also going to show itself over time. Even if you spend more money, it is worth it in the long-run, if you want the work to look its best.
Am I best to hire a tradesman?
Applying wallpaper is a task most homeowners can do. It should not require more than 2-5 days in most cases to wallpaper an entire room in the home. You will need at least 2 days since you should initially allow the wall to settle for 24 hours before you begin the application process. It is a job which is easy to complete, it is a job which most homeowner are going to have the equipment to complete, and it is the type of DIY project which doesn't require you to have a great deal of experience, or understanding of home improvement projects, in order for you to do the work properly.
Many homeowners who are working on a single room, or a couple of rooms in the home, will find this to be one of the easier DIY projects you can tackle. So, if it is for a smaller space, you can save a great deal of money by doing the work yourself, rather than hiring a tradesman. If, however, you are doing an entire home, or have multiple rooms, and don't have the time or resources, consider hiring a tradesman. If you do choose this option, compare several local professionals to find the most qualified, and those who are going to offer the most reasonable price quote, for applying the wallpaper to the different rooms in your home.