How to Fit a Shower
A step by step guide on how to Fit a Shower including necessary tools, estimated costs, time frames, best techniques and what not to do.
A new electric shower is a perfect addition to any home. It increases the resale value, they are safer than traditional shower systems, they allow you to control water temperature and water flow, and they will help reduce overall water consumption rates and are energy efficient. For the homeowner who is considering a DIY installation, these systems are fairly simplistic in design and easier to install than those which require extensive plumbing work. If you're on the fence and trying to decide if this is the best fit for your home, this guide will help you choose, and provide details on how to install your new electric shower system.
List of Required Tools
- Electric cable
- Drill
- Wrench
- Wall plugs
- Silicone sealant
Step by Step Guide
Installing an electric shower will require a little know-how, and patience, especially for homeowners who choose to do the work themselves. Water supply can run from the top, bottom, or rear, depending on the type of unit chosen. Once you have read the manufacturer labels, this guide will help you through the installation process.
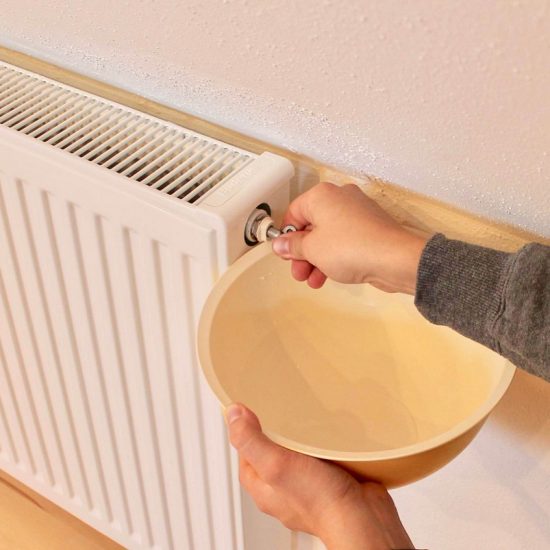
1. Drain the system
Before you connect your electric shower or begin the installation process, flush the water from inlet pipes. Simply turn on the hot and cold water, and allow water to run. Even the smallest particle or debris can ruin your new shower system; avoid this by allowing the water run for 5-10 minutes, to ensure all sediment and deposits are flushed out.
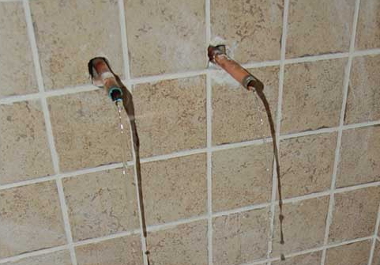
2. Prepare the pipework
Run a 15 mm pipe from the cold water supply to the tank; holding the shower unit in place you'll mark the position on the wall where you'll cut/drill to install the piping. If you have a cable and pipe detector you can use it to detect whether or not there are hidden pipes/cables where you plan on cutting, before marking the area. At this point you'll run the pipe through the wall at the area you marked and insert the correct connector unit. You can place wall plugs and silicone sealant into the tiles to prevent them from slipping.
3. Feeding the pipe
You'll feed the pipe and electric cables through the back plate of the shower unit and use the supplied screws to affix it onto the wall. Make sure it is properly screwed into place to avoid movement or slipping during the remainder of the installation process.
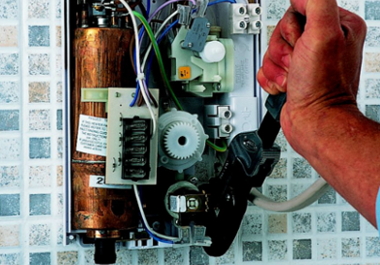
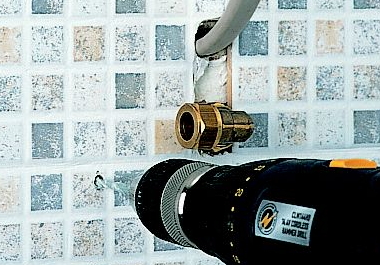
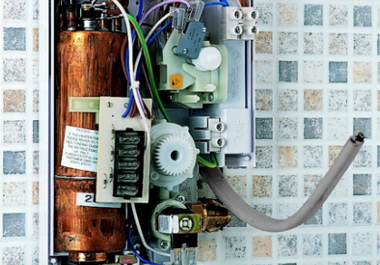
4. Connect inlet pipes
Using a shower wrench you'll connect the inlet pipe to the shower unit. Tighten the compression fittings properly at this point as well. You'll fit the cables at this point connecting the live and neutral cores to the "load" terminals, and the earth core to the earth terminal.
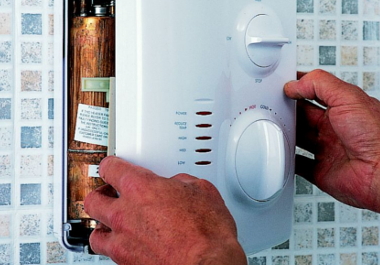
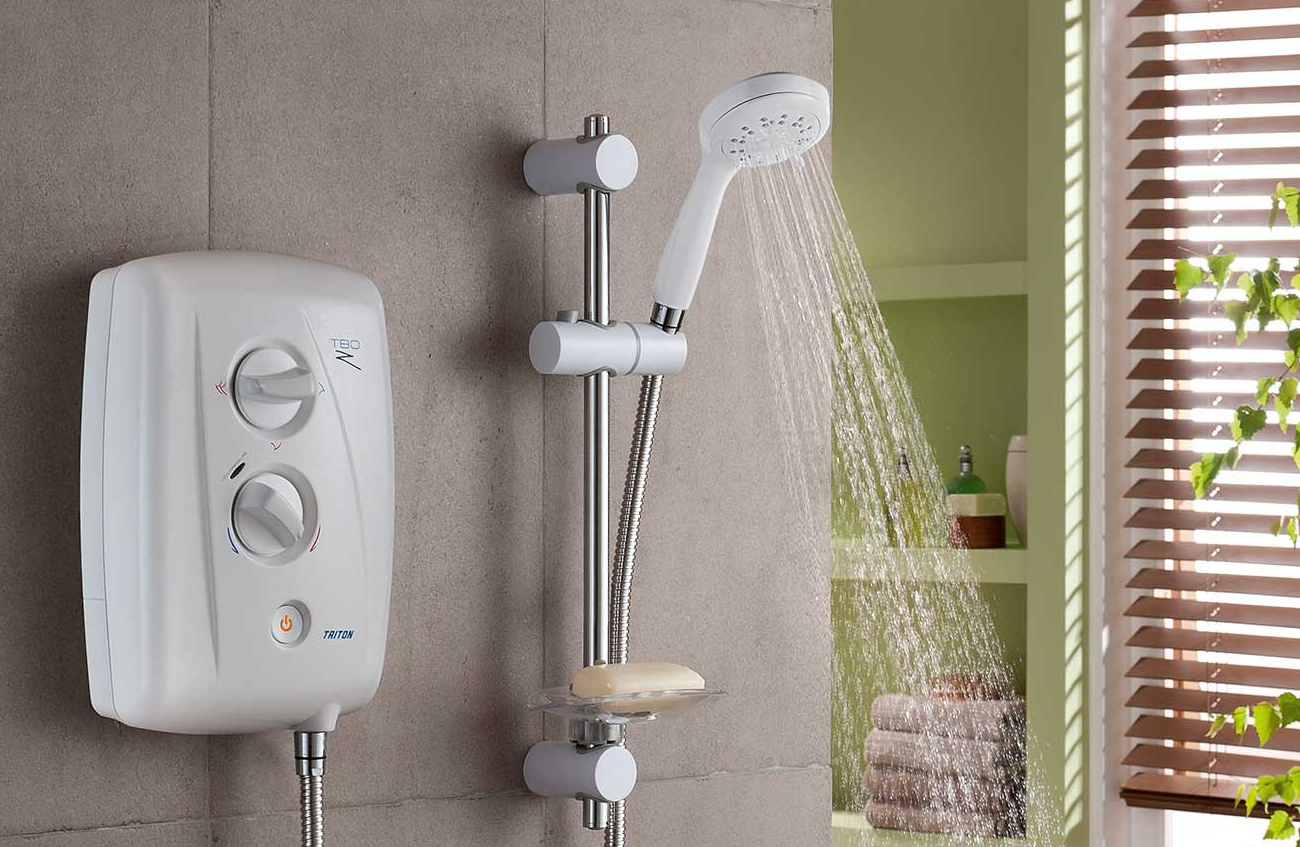
5. Fit the shower cover
You'll place the electric shower cover onto the unit once all wiring is connected. Each manufacturer has different instructions for placing the cover onto the unit, so follow these exactly to ensure it is done properly.
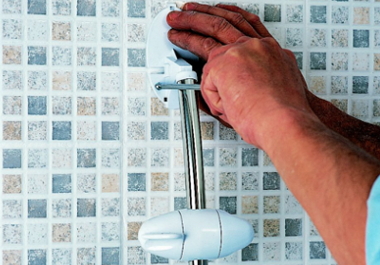
6. Fit the rail
If your shower comes with a hand shower unit, you'll fit the rail onto the wall next to the shower unit. You should also screw on the hose and handset with the supplied washers and screws for the shower unit. Manufacturer warnings may vary for each shower unit, so check the proper procedure for installing the rail and handset next to the electric shower system.
How to Fit a Shower Video
Tips & Techniques
In addition to having all necessary tools, you also have to properly shut off all water lines, and make sure you have the wiring up to code in the home when installing this system. This might require hiring an electrician or plumber, especially if your home is older, and wiring hasn't been updated in many years. Additionally, every manufacturer of these shower systems has different included attachment heads, nozzles, and supplies for installation. Use them! Don't just assume things; even though it seems straightforward, if you skip a step or don't use the right supplies, it can end up damaging the system down the road.
It is important to follow steps accordingly. You don't want to burst a pipe or cut an electric wire while installing your shower system. Therefore, it is best to take your time, work slowly, and follow all instructions as they are laid out. The job shouldn't take more than a few hours, especially if your home is up to code and all wiring/plumbing are updated. With this being said, make sure you understand all connectors, cables, and instructions before you proceed with the installation.
Am I best to hire a tradesman?
In many cases, hiring a tradesman to install a new electric shower system might be the superior option. Although these systems are fairly simple to install and do come with all required equipment, many homeowners simply don't have the know-how, or understanding of plumbing and electric work, to feel comfortable doing the work themselves. And, even if they do, they might not have the time to get the job done, or may require some permitting prior to being able to install the system, which can set back the process.
Hiring a tradesman is a great option when it comes to installing a new shower. Not only are some shower systems complex, but the difficulties of plumbing and wiring/electric work can be overwhelming for many homeowners. Especially those who don't do many DIY projects around the home themselves.
If you choose to hire a tradesman, contact several prior to hiring one. This will allow you to save on the price of the job, get the work done quickly and efficiently, and know your new shower is going to operate as it should, as it was installed by the most qualified professionals in their trade.